
“How to get help in Windows 10/11” Bing search pop up opens in the browser when the user presses the F1 key. This happened to at least everyone once! This tutorial shows you how to remove it for good!
Some of the users have been seen stating on forums that it comes up on their windows desktop automatically and on regular basis.
Now, why does this keep on happening?
- At times the help key might get stuck which triggers the get help alerts.
- Incorrect system settings.
Contents
How to get help in Windows 10/11 and remove this pop-up
Remove apps not needed from starting up
Keyboard macro programs can press the F1 keys automatically with their macros. Do keep checking that you have any software that may be opening this pop-up.
For this:
- In the first step open the Win + X menu using the windows key + X hotkey.
- Choose to open task manager.
- Select the start-up tab.
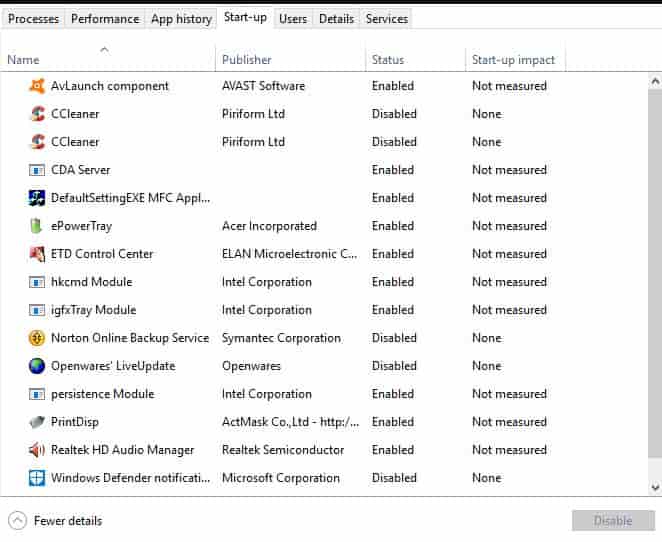
- Disable any program by selecting it and hitting the disable button.
SEE ALSO: Free Programs that are specifically created for keyboard typers.
Is your F1 Key Stuck – A common issue
It might be the time that you need to your keyboard. The underlying issue occurs if the specific key is stuck in any way. So you need to check it. this may not automatically pop up with an alternative keyboard. Just unplug it to see if the pop-up still opens.
SEE ALSO: Become a faster typer by creating Keyboard Macros.
Disable F1 Key
This ensures that the search pop-up does not open. With the help of keyboard mapping software users can deactivate the specific key. SharpKeys is yet another freeware mapping software that is used to turn off most keyboard keys with.
For this:
- Click on browse in order to select a folder to extract it to and hit the extract button.
- Then open its windows and select F1.
- Press turn key off in from the To this key list, press OK.
- After this select write to registry open and restart your device.
SEE ALSO: How to Remove Microsoft Office 2016 Installation from PC.
Sticky Key and Filter Key Settings
This may open up if the user has set F1 as a filter or sticky key. To deselect this, press the “type here to search” Cortana button on the taskbar.
- In the search box, you need to type sticky key.
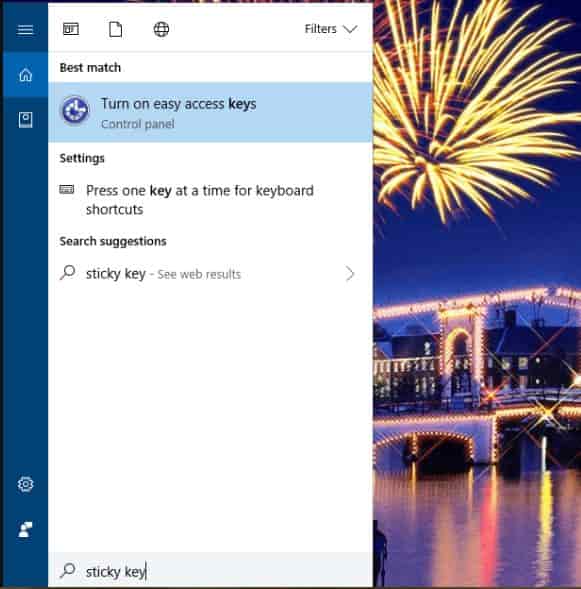
- Choose turn on easy access keys in order to open the Control Panel.
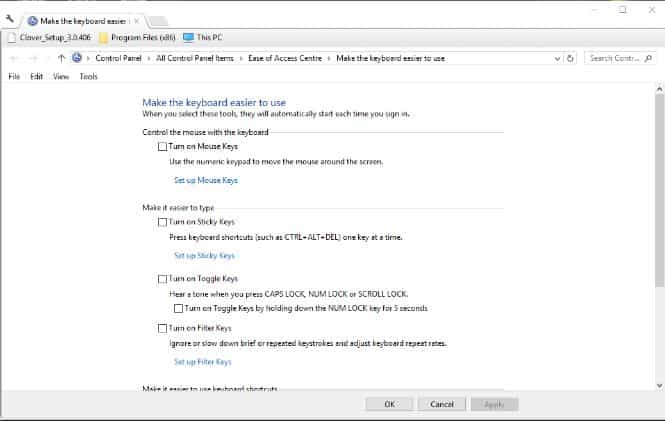
- If the turn-on sticky keys option is selected, deselect it.
- Then un-check turn on filter keys setting.
- Select apply.
- Press OK for the new changes to take place and close the window.
SEE ALSO: Find out what happens If a system restore is interrupted in Windows 10.
Start looking at your Registry files
Some users have fixed the issue by editing the EnableactiveProbing DWORD value with the help of the Registry editor.
- To open it you need to press Windows Key + R keyboard shortcut.
For this:
- In the run, type in Regedit, press Ok.
- Then open to the following registry key in it:
HKEY_LOCAL_MACHINE\SYSTEM\CurrentControlSet\
Services\NlaSvc\Parameters\Internet.
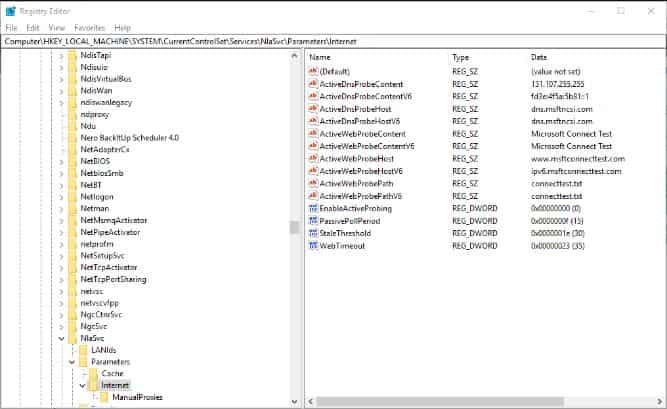
- After this you need to double click EnableActiveProbing to open the following window:
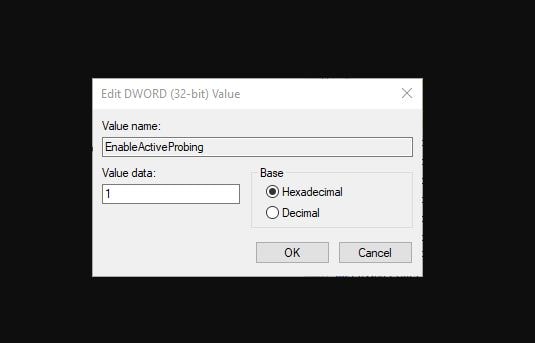
- In the Value data box enter 0 to replace the current 1 value.
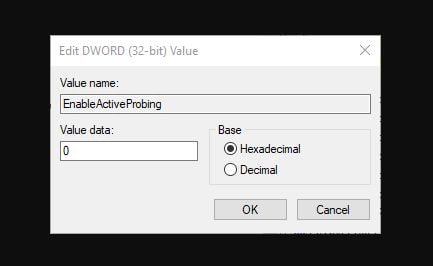
- Press Ok.
- Close it down.
- Choose Restart to restart your windows.
SEE ALSO: Download Windows Registry Editor Utility.
Rename or Remove HelpPane.exe
As this is the main culprit which launches the underlying problem then what we can do is rename or delete the executable file and whenever the specific key is pressed windows will not be able to find the file and you shall not get the Binge search page.
For this:
- In the first step open up the file explorer.
- Then go to C:\Windows\ folder.
- Lookup for this file, you shall not be able to delete or rename it directly as you need to take ownership and full control of the file.
- Once done, delete it or rename it like HelpPane_BAK.exe etc.
Note: If you are still not able to do this, just open the task manager and from there end the task.
Are you infected with a virus or malware? Check it!
You can opt for this option as well. Most of the time problem occurs due to some third-party app that is being infected. If you do not carry any anti-virus software then you don’t need to worry as you can use the in-built malware scanning tool known as windows defender.
For this:
- To open settings press Windows Key + I, click on updates and security.
- On the left-hand side choose windows security.
- Click open windows defender or security button.
- Select the virus and threat section.
- Choose the advanced section and highlight windows defender offline scan.
- Click scan now.
- Once it is completed, if any virus or malware is there then it shall be removed automatically.
- Reboot the system to check to see if the issue is resolved or not.
SEE ALSO: How to Fix Most Common RSOD Red Screen Issues.
Tip: If you need help in need from Microsoft visit this link.
Conclusion
So this was how you can get rid of the “Get help in Windows 10/11” pop-up that occurs. I have shared the most common fix which is editing the Registry files and removing it from there. Let me know if you are aware of an alternate method below in the comments.


")